Booting an old server from NVMe that doesn't support it
posted
This is a written summary of the above YouTube video I made, along with code snippets.
Background
I have an old server in my homelab that I want to install TrueNAS onto, as one does. The server is an IBM x3650 M3, which dates back to 2011 (!).

The server's only hard drives are an array of 2.5" SAS drives. Rather than install the OS onto those (yuck) I much prefer the modern solution of an NVMe drive.
Unfortunately, given the server's age, it doesn't have any NVMe slots on the motherboard.
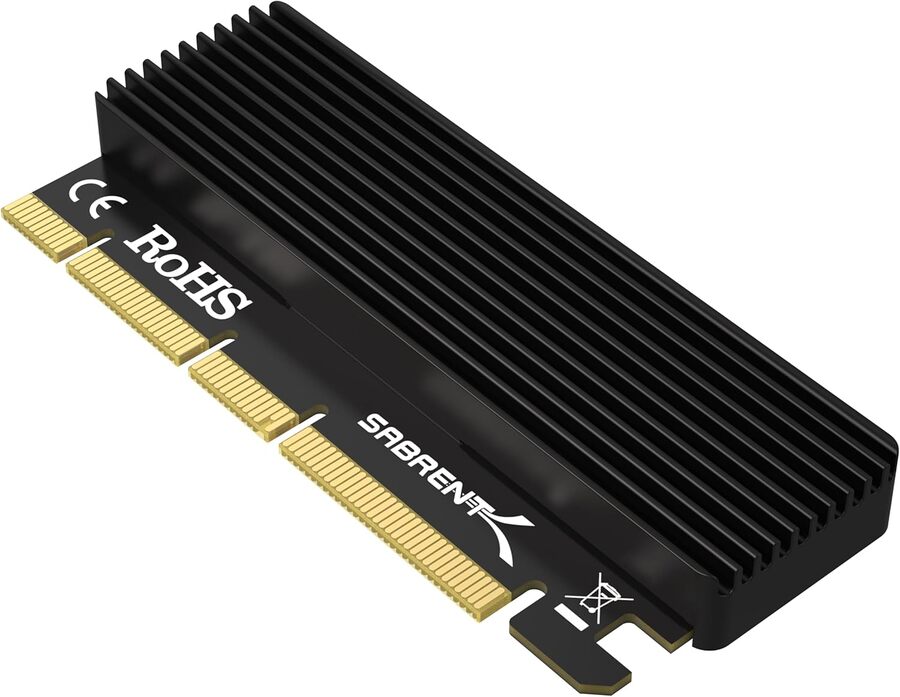
However, it does have PCI Express (PCIe) slots. So, I simply used a PCIe to NVMe adapter:

This seemingly worked, as when I plugged in my TrueNAS installer thumb drive, it was able to see my NVMe drive and install TrueNAS onto it just fine.
However, when I rebooted the server, it just boot looped forever, cycling through its bootup options, looking for something to boot from, despite me enabling every single possible bootup option within the BIOS.
So what happened is that while the TrueNAS installer had the necessary drivers to see my NVMe drive, my server's BIOS decidedly did not (and never will, as BIOS updates stopped in 2017 without NVMe support).
Solution
The solution I found is to daisy-chain the startup process using a shim boot manager that has NVMe drivers on it. We can accomplish this by installing this boot manager onto a USB thumb drive, configuring that boot manager to boot straight to our given NVMe drive, and then configuring the BIOS to boot to that USB thumb drive. The USB thumb drive then remains plugged into the server, forever.
So, instead of trying to boot
BIOS –> NVMe
we boot
BIOS –> USB thumb drive –> NVMe
I've seen solutions that accomplish this using the Clover bootloader, but I found it easier to use a boot manager called RefindPlus instead, so I'm going to share this method.
Guide
Install rEFInd
The first step is to download the rEFInd boot manager, which is a prerequisite for using RefindPlus.
rEFInd can be downloaded on SourceForge (remember good old SourceForge?). Look for the latest version with "flashdrive" in the name (as of writing, that would be refind-flashdrive-0.14.2.zip).
That zip file will have an .img file inside it. Using a free program like balenaEtcher, flash this .img file to your thumb drive.
At this point, your thumb drive should have a directory structure similar to this:
$ tree --filelimit 10 /media/arclight/usb-drive
.
└── EFI
    ├── boot
    │   ├── bootaa64.efi
    │   ├── bootia32.efi
    │   ├── bootx64.efi
    │   ├── drivers_aa64
    │   │   ├── btrfs_aa64.efi
    │   │   ├── ext2_aa64.efi
    │   │   ├── ext4_aa64.efi
    │   │   ├── hfs_aa64.efi
    │   │   ├── iso9660_aa64.efi
    │   │   ├── LICENSE_GPL.txt
    │   │   ├── LICENSE.txt
    │   │   └── reiserfs_aa64.efi
    │   ├── drivers_ia32
    │   │   ├── btrfs_ia32.efi
    │   │   ├── ext2_ia32.efi
    │   │   ├── ext4_ia32.efi
    │   │   ├── hfs_ia32.efi
    │   │   ├── iso9660_ia32.efi
    │   │   ├── LICENSE_GPL.txt
    │   │   ├── LICENSE.txt
    │   │   └── reiserfs_ia32.efi
    │   ├── drivers_x64
    │   │   ├── btrfs_x64.efi
    │   │   ├── ext2_x64.efi
    │   │   ├── ext4_x64.efi
    │   │   ├── hfs_x64.efi
    │   │   ├── iso9660_x64.efi
    │   │   ├── LICENSE_GPL.txt
    │   │   ├── LICENSE.txt
    │   │   └── reiserfs_x64.efi
    │   ├── icons  [77 entries exceeds filelimit, not opening dir]
    │   ├── refind.conf
    │   └── refind.conf-sample
    └── tools
        ├── gdisk_x64.efi
        ├── gptsync_ia32.efi
        ├── gptsync_x64.efi
        ├── shellia32.efi
        └── shellx64.efi

8 directories, 34 files
Going forward, we're only interested in the EFI/boot directory of our thumb drive.
Install RefindPlus
The next step is installing RefindPlus. Download the latest .zip file from the releases page (as of this writing, that is x64-RefindPlus_001402-AA_HotFix-01.zip).
The way that we install RefindPlus is by overwriting certain files on our rEFI USB drive with the RefindPlus version. So, copy these two files from the RefindPlus .zip file to our thumb drive's EFI/boot directory:
x64_RefindPlus_REL.efi
config.conf
Now, delete bootx64.efi, and rename x64_RefindPlus_REL.efi to bootx64.efi (effectively overwriting it).
The other file, config.conf, is RefindPlus's config file. It can actually still function with rEFI's config file (refind.conf), but to enable NVMe, we need to use config.conf.
Configure RefindPlus
Open config.conf in your favorite text editor.
Look for this line:
#supply_nvme
And change it to:
supply_nvme
NVMe support is disabled by default; by uncommenting this line, we enable it.
Optionally, find this line:
#timeout 20
This is how many seconds RefindPlus will wait at the main menu screen before automatically booting to the last-selected boot device.
I'm going to set it to 3 seconds for now:
timeout 3
Later, once we verify that it boots to our NVMe drive by default, we could change this value to -1 to do an automatic boot with no delay.
Now, save changes to this file and eject the USB thumb drive.
Verify BIOS boot settings
Now, at your server, boot into the BIOS and verify that USB boot is enabled as a boot option.
Also, if your old server is anything like mine, having too many boot options available can actually slow down the boot up process. So I recommend making sure USB boot is the only available boot option:

Now, we're all done preparing and we're ready to test our thumb drive. Let's plug in our thumb drive to the server now, and reboot it.
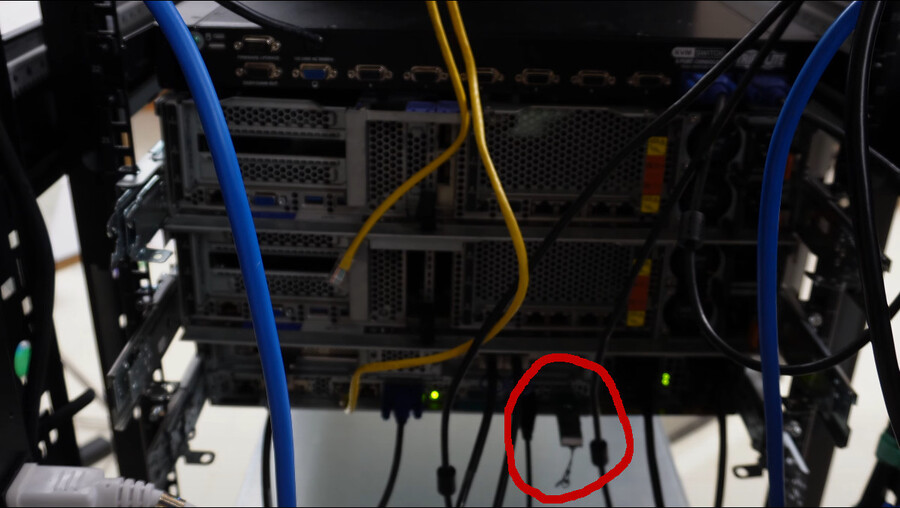
💡 Since this USB drive is essential for booting, I recommend placing it in an internal USB header if your server has one, or at least a rear USB port where it's less likely to be accidentally unplugged.

Success
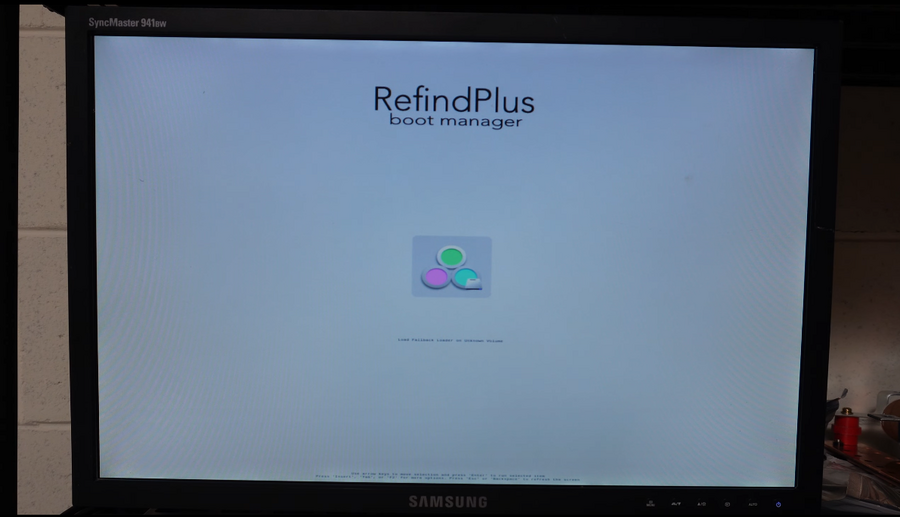
If everything goes according to plan, you should see a RefindPlus splash screen:

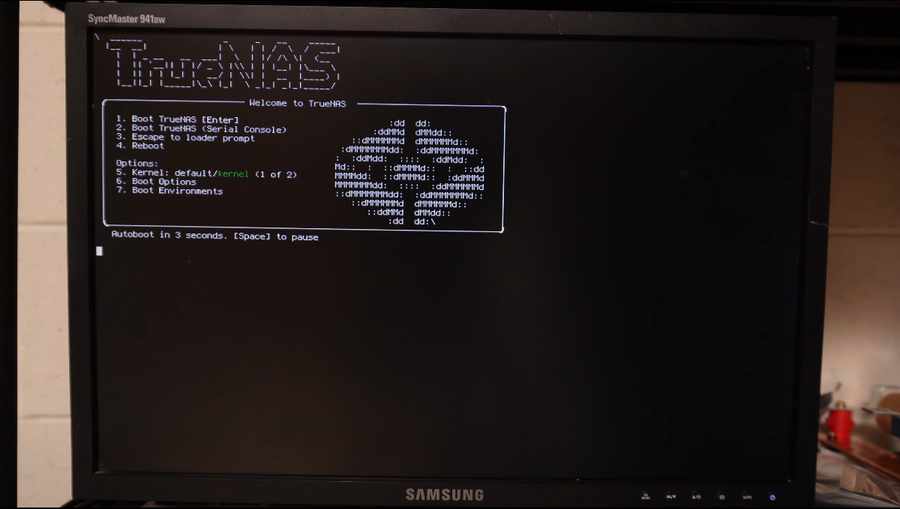
We can either press enter now to boot into our OS, or F2 to see advanced options. In my case there's no reason to check out advanced options so I'm just going to boot into TrueNAS:

Success!
And now, every time I reboot my server, RefindPlus will automatically boot into TrueNAS.
Thanks for reading! If you enjoyed this content, you can subscribe to my Youtube Channel (@ArclightAutomata), and like the video this article was adapted from.